Dashboards
Video tutorial
Default IoT dashboard for customer user
Since NDU 1.2 you are now able to define default IoT dashboard for your customer users in 2 simple steps:
Step 1. Assign IoT dashboard to customer
See embedded video tutorial above on tips how to do this.
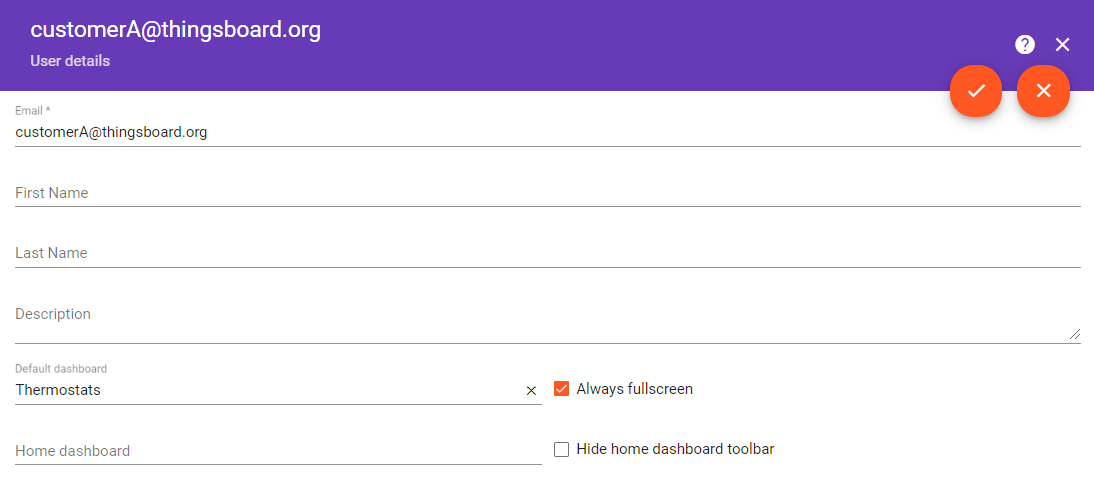
Step 2. Open customer user details
Navigate to “Customers -> Your customer -> Customer Users” and toggle edit mode using ‘pencil’ button in the top-right corner of the screen.
Step 3. Select IoT dashboard
Select the IoT dashboard from the list and apply changes. Please note that you can also check the “Always Fullscreen” mode to prevent a user from navigating to different dashboards/screens.
IoT Dashboard import/export
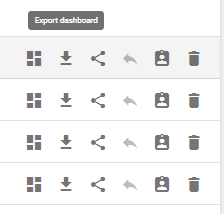
Dashboard export
You are able to export your dashboard to JSON format and import it to the same or another NDU instance.
In order to export dashboard, you should navigate to the Dashboards page and click on the export button located on the particular dashboard row.
Dashboard import
Similar, to import the dashboard you should navigate to the Dashboards page and click on the “+” button located in the top-right corner of the Dashboards table and then choose “Import dashboard” option.

The dashboard import window should popup and you will be prompted to upload the json file.
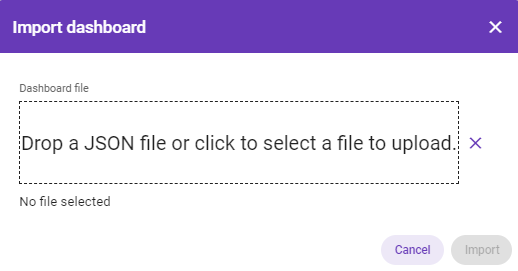
Once you click on the “import” button you will need to specify the device aliases. This basically allows you to set what device(s) correspond to dashboard alias.